 Embedded Development
 RISC-V Architecture Getting Started: From Principles to Your First Dev Board
Introduction
Over the past two decades, the processor architecture market has been essentially split between two players: Intel’s x86 dominates PCs and servers, while ARM rules mobile and IoT. Want to design your own chip? Sorry — you’ll need to pay a rather expensive licensing fee first.
RISC-V changed all that.
RISC-V is a completely open-source instruction set architecture (ISA). Anyone can freely use it to design, manufacture, and sell chips or RISC-V-based products without paying licensing fees to any company. It was initiated by Professor Krste Asanović and his team at the University of California, Berkeley in 2010, and has since become one of the hottest new forces in the chip industry.
In this article, I’ll start from the basic concepts of instruction sets, help you understand what makes RISC-V different, and then guide you through picking a development board and running your first RISC-V program.
1. What Is an Instruction Set Architecture (ISA)?
1.1 The Simplest Explanation
An instruction set architecture is essentially the “contract” between the CPU and software — it defines:
-
What basic operations the CPU can perform (addition, subtraction, loading data, jumping, etc.)
-
How many registers there are and how wide each one is
-
How memory is addressed
-
The encoding format of instructions
You can think of it as the CPU’s “language specification.” Software writes instructions in this language, and the CPU understands and executes them.
1.2 x86 vs ARM vs RISC-V
| x86 | ARM | RISC-V | |
|---|---|---|---|
| Developer | Intel/AMD | Arm Ltd. | RISC-V Foundation (open source) |
| Licensing | Proprietary | Paid licensing | Completely free and open source |
| Instruction type | CISC (Complex Instruction Set) | RISC (Reduced Instruction Set) | RISC (Reduced Instruction Set) |
| Primary domain | PC/Server | Mobile/Embedded | IoT/Embedded/AI/All domains |
| Extensibility | Not extensible | Limited extensibility | Highly extensible |
RISC-V’s killer feature comes down to two words: freedom.
You don’t need anyone’s permission to use the RISC-V ISA. You can customize instruction set extensions based on your needs. You can design a minimalist 32-bit MCU, or an AI accelerator with vector extensions — all legal, all free.
1.3 Why the “V”?
V stands for “five” (Roman numeral). The Berkeley team had already designed four generations of RISC processors (ROCK I–IV), so the fifth generation was named RISC-V. The V also hints at “Variable,” since the RISC-V instruction set is extensible.
2. Core Features of the RISC-V Architecture
2.1 Reduced Instruction Set (RISC)
RISC-V follows the RISC philosophy:
-
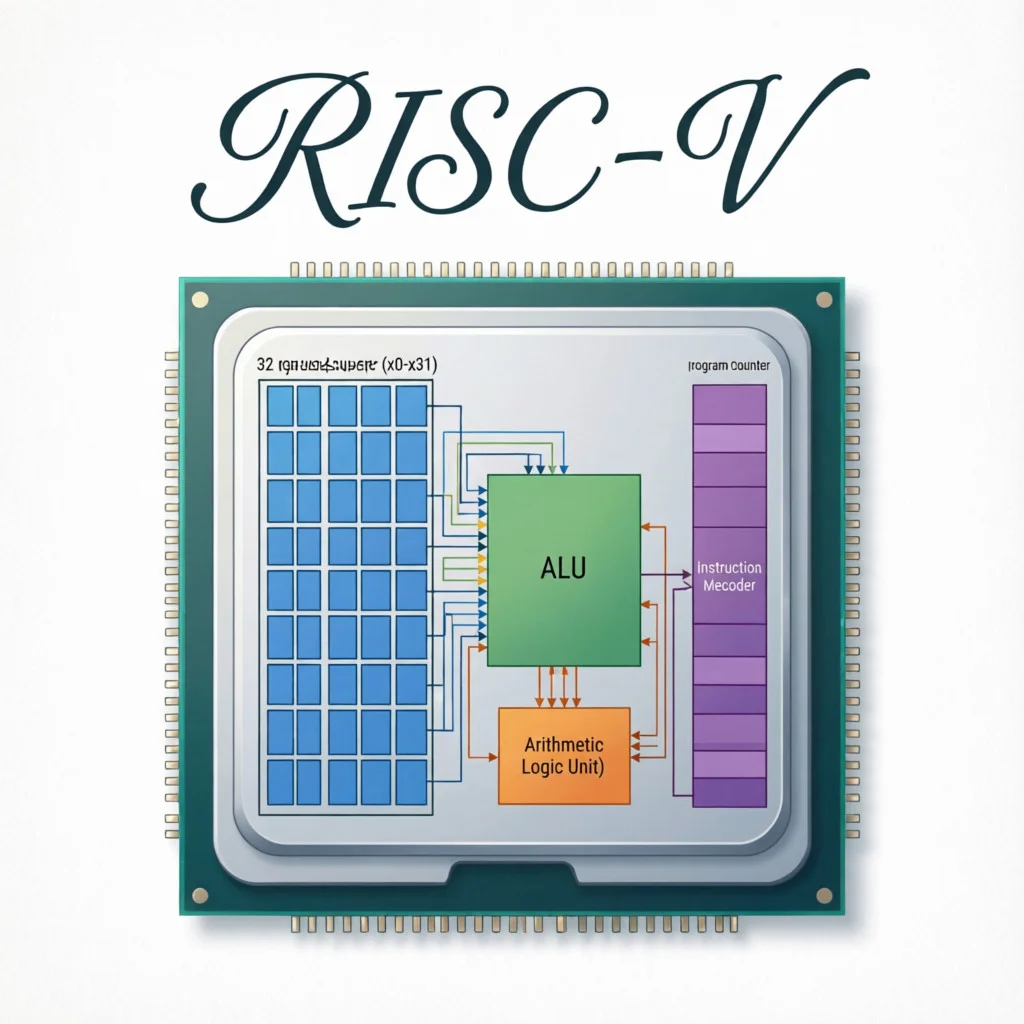
Fixed 32-bit instruction length (base ISA) — simple decoding, clean hardware design
-
Load/Store architecture — only load and store instructions can access memory; arithmetic operations can only be performed between registers
-
Plenty of registers — 32 general-purpose integer registers (x0–x31), double the 16 in x86
This design makes hardware implementations simpler and power consumption lower, making it ideal for embedded scenarios.
2.2 Modular Design
RISC-V isn’t “one instruction set for all scenarios” — it’s composed of modular extensions:
| Extension | Name | Description |
|---|---|---|
| RV32I / RV64I | Base integer ISA | Mandatory; included in all RISC-V processors |
| M | Multiply/Divide extension | Hardware multiplication and division instructions |
| A | Atomic operations extension | Atomic instructions for multi-core synchronization |
| F | Single-precision floating point | Hardware single-precision floating-point operations |
| D | Double-precision floating point | Hardware double-precision floating-point operations |
| C | Compressed instructions | 16-bit encoded compressed instructions to reduce code size |
| V | Vector extension | SIMD vector operations, suitable for AI/multimedia |
Typical combination examples:
-
Minimal IoT node: RV32I + C (minimum code size)
-
General-purpose MCU: RV32IMAC (with multiply/divide, atomics, compression)
-
Application processor: RV64IMAFDC (64-bit + full featured)
-
AI accelerator: RV64IMAFDCV (plus vector extension)
2.3 Privilege Levels
RISC-V defines three privilege levels:
| Level | Name | Purpose |
|---|---|---|
| U mode | User | Running user applications |
| S mode | Supervisor | Running the OS kernel |
| M mode | Machine | Firmware/Bootloader, highest privilege |
MCUs typically only need M mode; SoCs running Linux need M+S+U.
3. The Current RISC-V Ecosystem
3.1 Chip Vendors
RISC-V is no longer just an academic project — major vendors are shipping production chips:
| Vendor | Representative Products | Positioning |
|---|---|---|
| T-Head (Alibaba) | C906/C910/C920 | High-performance application processors |
| GigaDevice | GD32V | MCU, Arduino compatible |
| Espressif | ESP32-C3 | WiFi/BLE IoT |
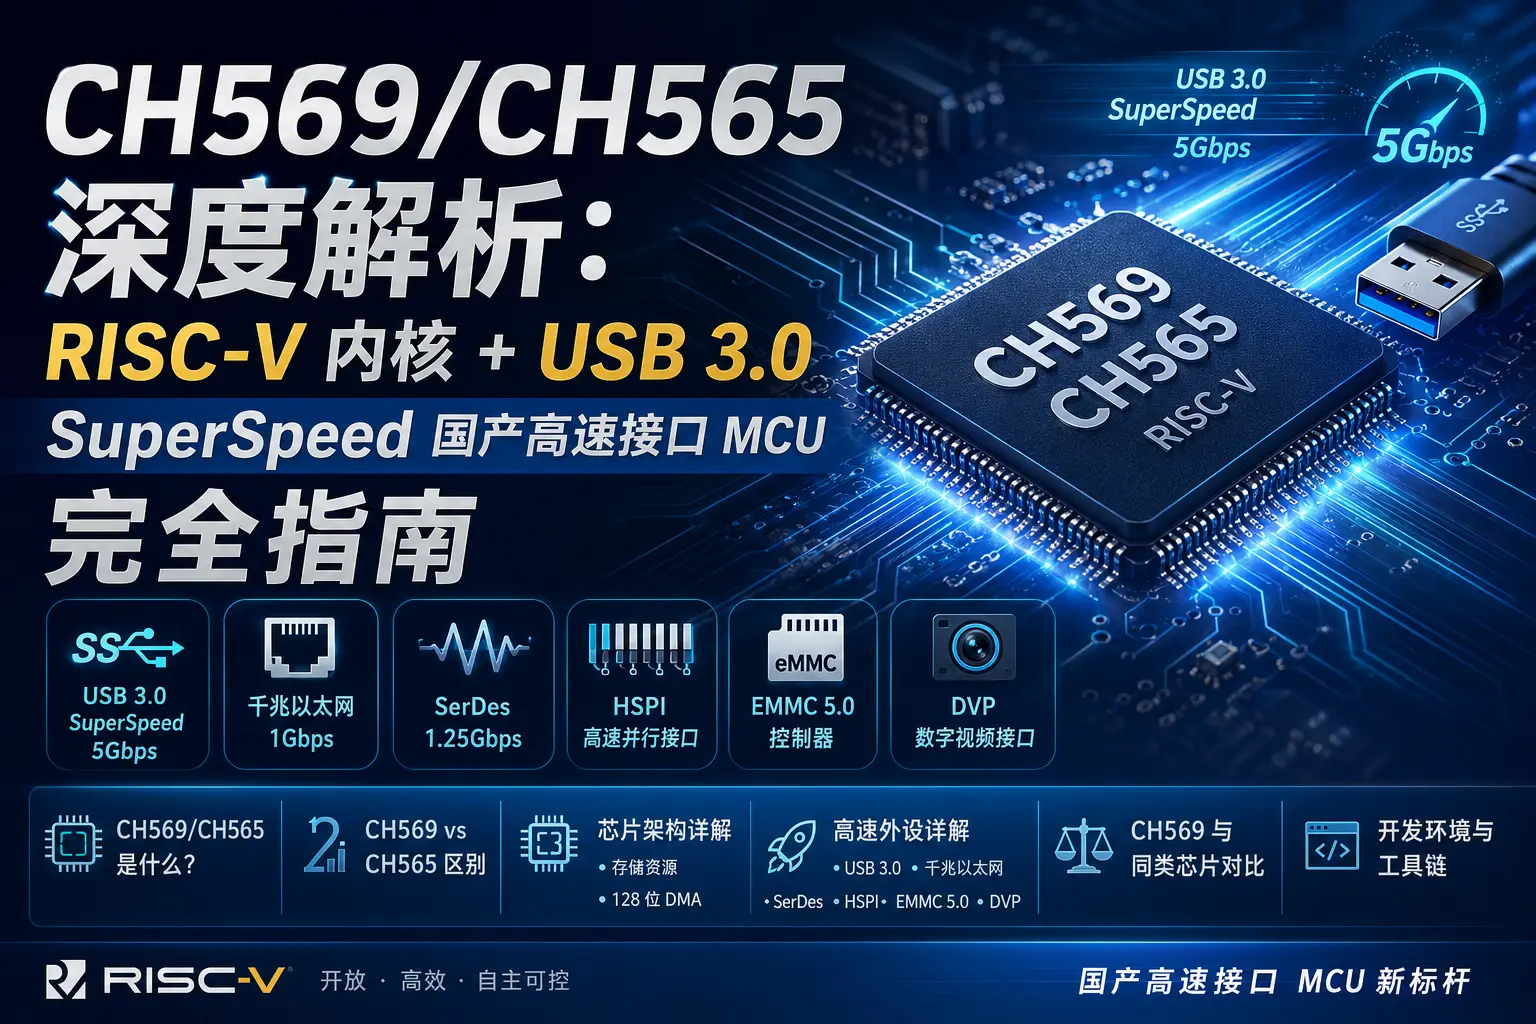
| WCH | CH32V | Low-cost MCU |
| SiFive | E/P/U series | General-purpose RISC-V IP |
| Andes Technology | RISC-V IP | IoT/automotive electronics |
3.2 Operating System Support
-
Linux: Merged into the mainline kernel in 2019 (5.0+), fully supported
-
FreeRTOS: Officially supported
-
Zephyr: Officially supported
-
RT-Thread: Officially supported
-
Bare-metal: Various bare-metal SDKs available
3.3 Recommended Development Boards
| Dev Board | Chip | Price | Use Case |
|---|---|---|---|
| Sipeed Longan Nano | GD32VF103 | ¥30–50 | Beginner learning, includes LCD |
| ESP32-C3 | ESP32-C3 | ¥15–25 | IoT development, WiFi+BLE |
| Milk-V Duo | CV1800B | ¥50–80 | Linux application processor |
| StarFive VisionFive 2 | JH7110 | ¥500–700 | Full Linux SBC |
| HiFive1 Rev B | FE310-G002 | ¥300+ | Officially recommended beginner board |
Beginner recommendation: ESP32-C3 or Sipeed Longan Nano — affordable, well-documented, and easy to get started with.
4. Hands-On: Running Your First Program on a RISC-V Dev Board
4.1 Hardware Preparation
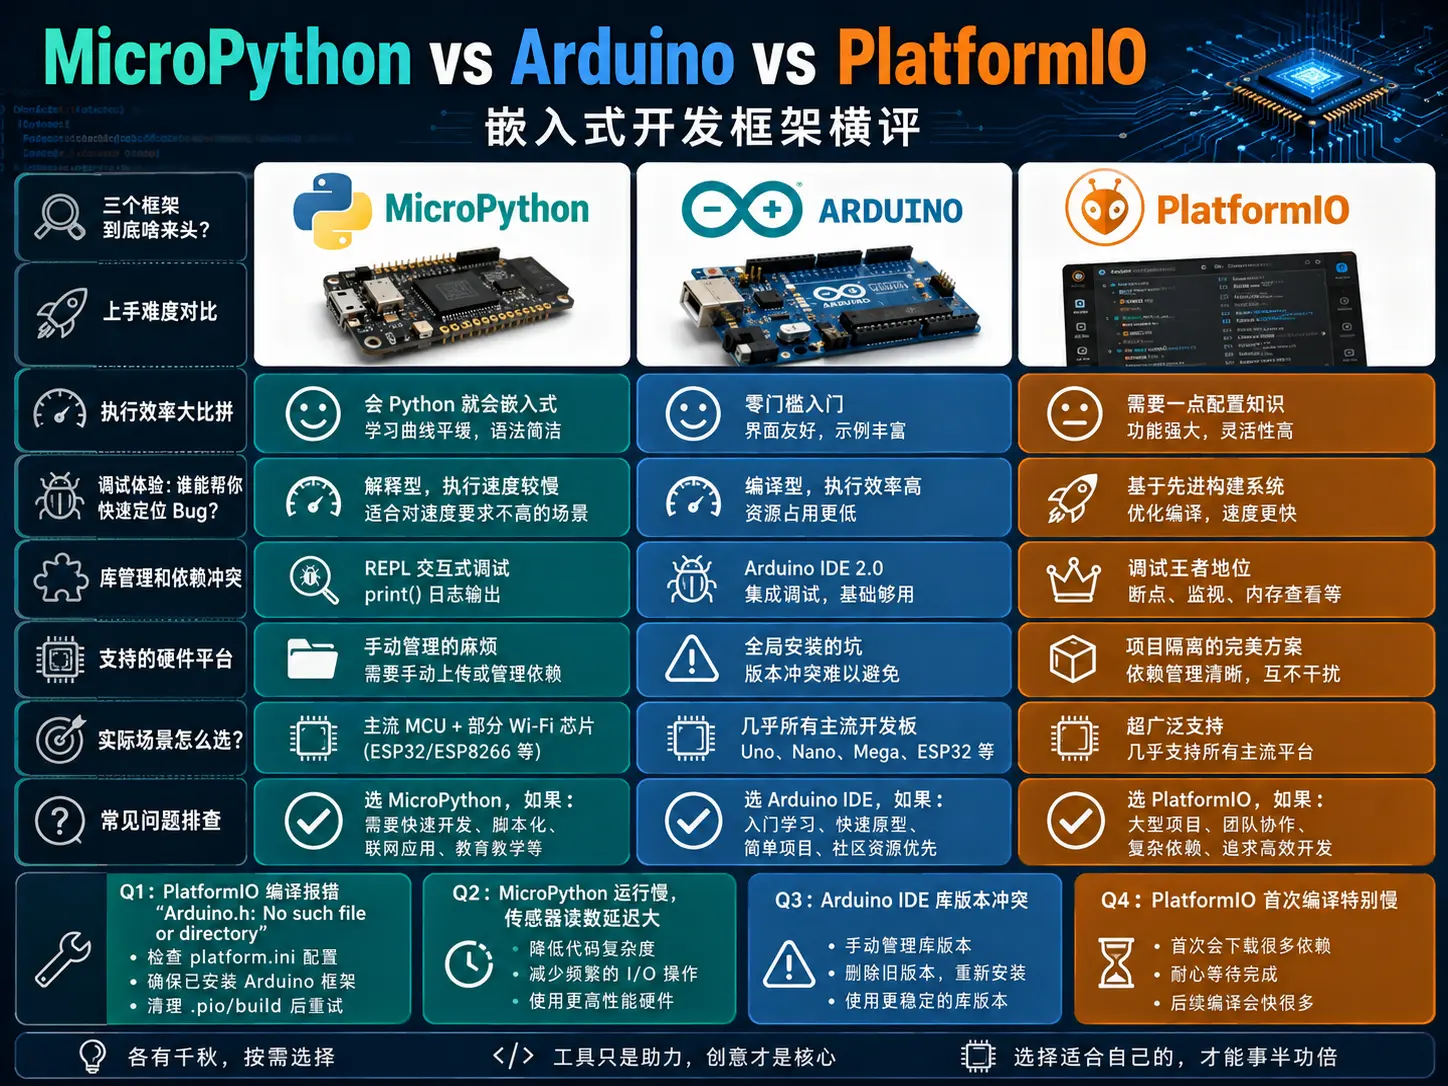
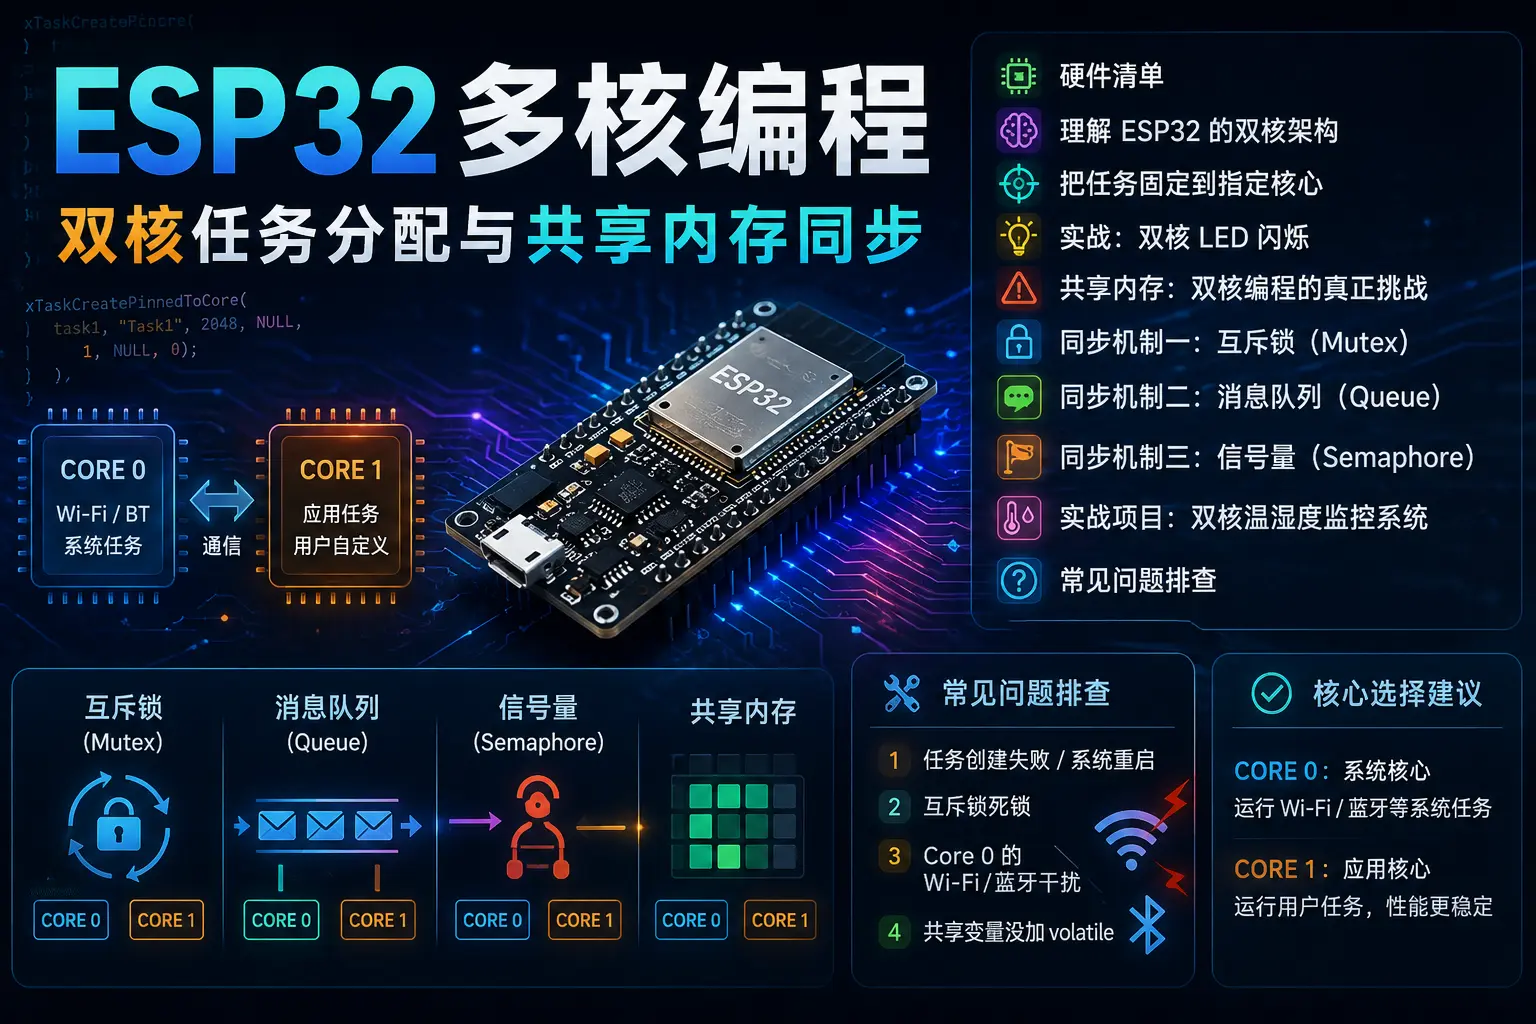
We’ll use the ESP32-C3 as an example — it features a RISC-V single-core processor, supports WiFi and BLE 5.0, and costs less than ¥20.
You’ll need:
-
ESP32-C3 development board (e.g., ESP32-C3-DevKitM-1)
-
USB-C data cable
-
Computer (Windows/Mac/Linux all work)
4.2 Setting Up the Development Environment
Option 1: Arduino IDE (Simplest)
-
Download and install Arduino IDE 2.x (from the official site arduino.cc)
-
Open Arduino IDE, go to “File → Preferences → Additional Board Manager URLs” and add the ESP32 URL:
https://raw.githubusercontent.com/espressif/arduino-esp32/gh-pages/package_esp32_index.json -
In “Tools → Board → Board Manager,” search for “esp32” and install the latest ESP32 board support package
-
Connect the ESP32-C3 board to your computer with the USB-C cable, and select the corresponding serial port under “Tools → Port”
-
Select “ESP32C3 Dev Module” under “Tools → Board,” then click the Upload button
// ESP32-C3 Blink example
void setup() {
  pinMode(8, OUTPUT);
  Serial.begin(115200);
  Serial.println("Hello from RISC-V!");
}

void loop() {
  digitalWrite(8, HIGH);
  delay(500);
  digitalWrite(8, LOW);
  delay(500);
}
That’s it — you’re now running code on a RISC-V processor.
Option 2: ESP-IDF (Official SDK, More Flexible)
If you need lower-level control, use Espressif’s official SDK:
# 1. Install ESP-IDF toolchain
git clone --recursive https://github.com/espressif/esp-idf.git
cd esp-idf
./install.sh esp32c3  # Specify RISC-V chip

# 2. Set up environment
. ./export.sh

# 3. Create project
idf.py create-project my_riscv_app
cd my_riscv_app

# 4. Edit main/main.c
# 5. Build (note: this compiles RISC-V target code)
idf.py set-target esp32c3
idf.py build

# 6. Flash
idf.py -p /dev/ttyUSB0 flash monitor
4.3 Option 3: Bare-Metal Development (Pure RISC-V Learning)
If you want to understand RISC-V from the very bottom, try pure bare-metal development:
# Install RISC-V GCC toolchain
# Ubuntu/Debian:
sudo apt install gcc-riscv64-unknown-elf gdb-riscv64-unknown-elf

# Or use pre-built binaries:
wget https://github.com/xpack-dev-tools/riscv-none-elf-gcc-xpack/releases/latest/download/xpack-riscv-none-elf-gcc-linux-x64.tar.gz
tar xzf xpack-riscv-none-elf-gcc-linux-x64.tar.gz
Write a minimal assembly program:
# hello.S - Print characters to serial port on RISC-V
.section .text
.globl _start

_start:
    # Set stack pointer
    la sp, _stack_top

    # Print "Hello RISC-V!"
    la a0, hello_msg
    jal uart_puts

    # Halt
1:  j 1b

.section .rodata
hello_msg:
    .string "Hello RISC-V!\n"
Compile:
riscv64-unknown-elf-gcc -march=rv32imac -mabi=ilp32 -nostdlib hello.S -o hello.elfThis is the smallest program you can run on bare RISC-V hardware.
5. Understanding RISC-V Instructions in Depth
5.1 Basic Instructions (RV32I)
Master these core instructions and you’ll understand how RISC-V works at a basic level:
| Instruction | Format | Example | Description |
|---|---|---|---|
| addi | rd, rs1, imm | addi x1, x0, 10 | x1 = x0 + 10 = 10 |
| add | rd, rs1, rs2 | add x2, x1, x1 | x2 = x1 + x1 = 20 |
| lw | rd, offset(rs1) | lw x3, 0(x4) | Load from memory |
| sw | rs2, offset(rs1) | sw x3, 0(x4) | Store to memory |
| beq | rs1, rs2, label | beq x1, x2, equal | Branch if equal |
| jal | rd, label | jal ra, my_func | Jump and link |
5.2 A Complete Small Program
// A RISC-V program written in C — the compiler generates corresponding RISC-V assembly
int fibonacci(int n) {
    if (n <= 1) return n;
    return fibonacci(n - 1) + fibonacci(n - 2);
}
The compiler-generated RISC-V assembly looks like this:
fibonacci:
    addi sp, sp, -32
    sw ra, 28(sp)
    sw s0, 24(sp)
    addi s0, sp, 32
    sw a0, -20(s0)
    lw a5, -20(s0)
    li a4, 1
    bgt a5, a4, .L2    # if n > 1, skip return

    lw a5, -20(s0)
    mv a0, a5               # return n
    j .L3

.L2:
    lw a5, -20(s0)
    addi a5, a5, -1
    mv a0, a5
    jal fibonacci           # fibonacci(n-1)

    mv a5, a0
    lw a4, -20(s0)
    addi a4, a4, -2
    mv a0, a4
    jal fibonacci           # fibonacci(n-2)

    add a0, a5, a0          # result = fib(n-1) + fib(n-2)

.L3:
    lw ra, 28(sp)
    lw s0, 24(sp)
    addi sp, sp, 32
    jr ra
Although it looks complex, RISC-V assembly is very clean — each instruction does one thing, without the “one instruction does three things” magic you find in x86. This is the RISC philosophy reflected at the code level.
6. RISC-V vs Traditional Architectures: Embedded Scenario Comparison
6.1 Power Consumption
| Architecture | Typical Standby Current | Typical Active Current | Suitable for Battery Apps |
|---|---|---|---|
| RISC-V (ESP32-C3) | ~10μA | ~50mA | ✅ Excellent |
| ARM Cortex-M (STM32) | ~5μA | ~30mA | ✅ Excellent |
| x86 (Atom) | ~1mA | ~500mA | ❌ Not suitable |
RISC-V and ARM are evenly matched in low-power scenarios. RISC-V’s advantage lies in having no licensing fees, enabling mass production without increasing costs.
6.2 Performance
| Metric | RISC-V (C906) | ARM Cortex-A53 | Notes |
|---|---|---|---|
| Dhrystone DMIPS/MHz | ~2.8 | ~2.0 | RISC-V slightly better |
| Clock frequency | Up to 2GHz | Up to 1.5GHz | Depends on chip implementation |
| Multi-core support | ✅ | ✅ | Both support it |
Important note: RISC-V is just an ISA — actual performance depends on the chip implementation. The same RISC-V ISA can yield vastly different performance between T-Head’s C906 and a simple MCU — just like the same x86 ISA, an i9 and a Celeron are not in the same league.
6.3 Development Ecosystem
| RISC-V | ARM | |
|---|---|---|
| Compiler support | GCC/Clang mainline | GCC/Clang mainline |
| RTOS support | Full FreeRTOS/Zephyr support | Full support |
| Linux support | Mainline kernel 5.0+ | Mature |
| IDE support | PlatformIO/VSCode/CLion | Keil/IAR/STM32CubeIDE |
| Community tutorials | Growing (more Chinese resources) | Very extensive |
| Chip selection | Rapidly growing | Extremely rich |
The RISC-V ecosystem is still in a rapid growth phase. For typical embedded development, the tools and ecosystem are already sufficient; but if you need specific peripheral libraries or evaluation board support, ARM still offers a wider selection.
7. Frequently Asked Questions
Q: Can RISC-V run Linux?
Yes. Starting from Linux kernel 5.0 in 2019, RISC-V has been a mainline-supported architecture. Boards like the Milk-V Duo and StarFive VisionFive 2 can run full Linux distributions.
Q: Which is better, RISC-V or ARM?
There’s no absolute answer. If you’re building a commercial product and cost-sensitive, RISC-V’s zero licensing fees are a huge advantage. If you need a mature ecosystem and ready-made library support, ARM is currently richer. But RISC-V is catching up extremely fast — the ecosystem gap is expected to narrow significantly within 3–5 years.
Q: Which dev board should I start with?
-
Lowest budget: ESP32-C3 (¥15, WiFi+BLE, Arduino compatible)
-
Want to learn bare-metal: Sipeed Longan Nano (¥30, includes LCD and RGB LED)
-
Want to run Linux: Milk-V Duo (¥50) or VisionFive 2 (¥500)
Q: What does the future hold for RISC-V?
Optimistically speaking, very bright. Google has announced Android 15 support for RISC-V, and NVIDIA is also investing in RISC-V R&D. The embedded space is RISC-V’s home turf — the ESP32-C3 has already proven that RISC-V is fully viable in IoT scenarios.
8. Summary
RISC-V isn’t “just another processor architecture” — it’s an attempt at architectural democratization. Anyone can freely design and use processors, no longer constrained by licensing fees and technical barriers.
Key takeaways:
-
RISC-V is an open-source instruction set — free and extensible
-
Modular design (I/M/A/F/D/C/V), composed as needed
-
Chips like the ESP32-C3 are already in mass production, with a rapidly maturing ecosystem
-
Low barrier to entry — a ¥15 dev board is all you need to get started
-
Suitable for IoT, embedded, AI acceleration, and many other scenarios
If you’ve only worked with Arduino (AVR) or STM32 (ARM) before, RISC-V will give you a whole new perspective. In the next installment, I’ll discuss the pros and cons of Espressif’s RISC-V series (C2/C3/C6) compared to the traditional Xtensa architecture.
Test environment for this article: ESP32-C3-DevKitM-1 + Arduino IDE 2.x + ESP-IDF 5.0