 3D Printing
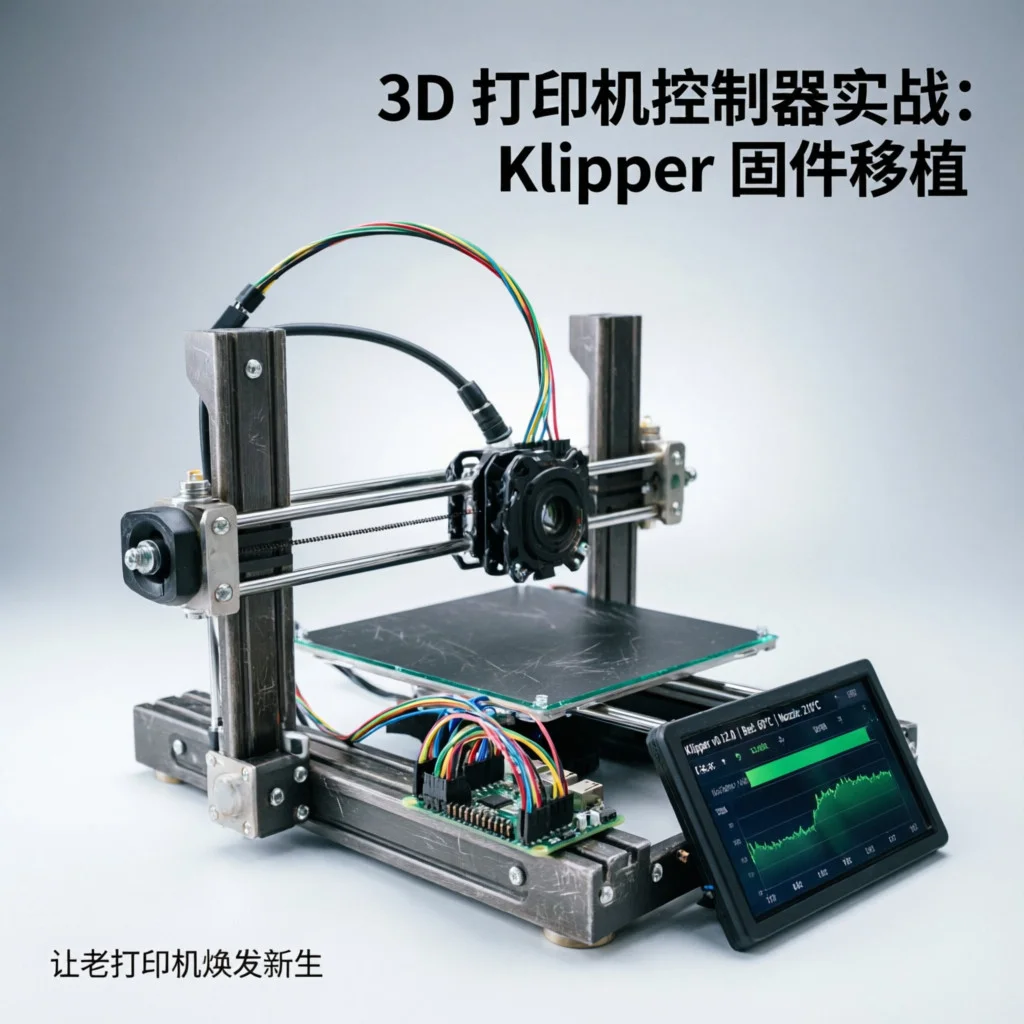
 3D Printer Controller in Practice: Klipper Firmware Migration, Reviving Old Printers
Why Upgrade Your 3D Printer to Klipper?
If you’re still running your 3D printer with Marlin firmware, you might be missing an opportunity to improve print quality. Klipper is the hottest 3D printer firmware in recent years, with a clever core idea: moving heavy computational tasks from the printer’s mainboard to a more powerful host computer (like a Raspberry Pi).
What are the benefits?
-
Higher step frequency: Marlin on 8-bit boards can only reach 50kHz at most, Klipper easily exceeds 100kHz
-
Smoother motion control: Input Shaping eliminates resonance, increasing print speed by 30-50%
-
Richer features: Pressure Advance, mesh bed leveling, macro commands
-
Easier configuration: Modify config files and restart, no need to recompile firmware
I have an old Ender 3 with a factory 8-bit ATmega2560 mainboard. Running Marlin always produces strange resonance patterns. This time I’ll give it a major upgrade with Raspberry Pi Zero 2 W + Klipper, total cost under 200 yuan.
What Do You Need?
| Item | Model/Spec | Price |
|---|---|---|
| Single Board Computer | Raspberry Pi Zero 2 W | ¥120 |
| MicroSD Card | 16GB Class10 | ¥25 |
| USB Cable | Micro-USB to USB-A | ¥10 |
| Jumper Wires | Male-to-female 20cm 10 pieces | ¥15 |
| Heatsink | Raspberry Pi Zero specific | ¥10 |
| Enclosure | 3D printed or acrylic | ¥20 |
| Total | ¥200 |
Note: If you already have a Raspberry Pi (any model), the cost is even lower. The Zero 2 W’s advantage is its small size, which can be directly attached to the printer enclosure.
Step 1: Install Klipper Firmware
Klipper consists of two parts: host service (runs on Raspberry Pi) and lower-level firmware (flashed to the printer mainboard). Let’s first install the host.
1.1 Flash System Image
It’s recommended to use the Kiauh installation script, which automatically handles all dependencies. First flash Raspberry Pi OS Lite image on the Raspberry Pi:
# Download image (recommend using Lite version, no desktop environment needed)
wget https://downloads.raspberrypi.org/raspios_lite_armhf/images/raspios_lite_armhf-2024-01-22/2024-01-22-raspios-bookworm-armhf-lite.img.xz

# Extract
unxz 2024-01-22-raspios-bookworm-armhf-lite.img.xz

# Flash to SD card (replace /dev/sdX with your SD card device)
sudo dd if=2024-01-22-raspios-bookworm-armhf-lite.img of=/dev/sdX bs=4M status=progress
sync
1.2 Run Kiauh Installation Script
After booting the Raspberry Pi, SSH in and run:
# Update system
sudo apt update && sudo apt upgrade -y

# Download Kiauh
cd ~
git clone https://github.com/th33xitus/kiauh.git

# Run installation script
./kiauh/kiauh.sh
In the Kiauh menu:
-
Select
[1] Install Klipper, wait for compilation to complete -
Select
[3] Install Mainsail(Web interface) -
After installation completes, exit Kiauh, execute
sudo rebootto restart the system
Notes: ⚠️ During installation, Klipper will be compiled. On Raspberry Pi Zero 2 W this takes about 10-15 minutes. Let it heat up, just don’t let it glow.
1.3 Install Moonraker (API Service)
Moonraker is Klipper’s API service, allowing web interfaces (Mainsail/Fluidd) to communicate with Klipper:
# In Kiauh menu select [2] Install Moonraker1.4 Install Web Interface
Mainsail is recommended, with a clean interface and complete features:
# In Kiauh menu select [3] Install MainsailAfter installation, access http://Raspberry Pi IP address in your browser to see the Mainsail interface.
Step 2: Configure Printer
2.1 Compile Lower-Level Firmware
Different printer mainboards require different firmware. Taking Ender 3 (STM32F103 mainboard) as an example:
# Enter Klipper directory
cd ~/klipper

# Configure firmware
make menuconfig
Configuration options:
-
Micro-controller Architecture: STM32
-
Processor model: STM32F103
-
Bootloader offset: 28KiB bootloader
-
Communication interface: Serial
After saving, compile:
make clean
make -j4
After compilation completes, the firmware is located at ~/klipper/out/klipper.bin.
2.2 Flash Firmware
Copy klipper.bin to the SD card root directory (printer mainboards usually support SD card flashing), insert into the printer mainboard, and it will automatically flash after powering on.
Alternatively use dfu-util to flash via USB (if the mainboard supports DFU):
sudo dfu-util -d 1209:0003 -a 0 -s 0x08000000:leave -D ~/klipper/out/klipper.bin2.3 Create Printer Configuration File
Create configuration file ~/printer_data/config/printer.cfg on the Raspberry Pi:
# Ender 3 Basic Configuration

step_pin: PB9
dir_pin: PB8
enable_pin: !PB7
microsteps: 16
rotation_distance: 40
endstop_pin: ^PC5
position_endstop: 0
position_max: 235
homing_speed: 50

step_pin: PB6
dir_pin: !PB5
enable_pin: !PB4
microsteps: 16
rotation_distance: 40
endstop_pin: ^PC4
position_endstop: 0
position_max: 235
homing_speed: 50

step_pin: PB3
dir_pin: !PB2
enable_pin: !PC15
microsteps: 16
rotation_distance: 8
endstop_pin: probe:z_virtual_endstop
position_max: 250
homing_speed: 10

step_pin: PC14
dir_pin: PC13
enable_pin: !PC12
microsteps: 16
rotation_distance: 33.5
nozzle_diameter: 0.400
filament_diameter: 1.750
heater_pin: PA1
sensor_type: EPCOS 100K B57560G104F
sensor_pin: PC3
control: pid
pid_Kp: 21.527
pid_Ki: 1.063
pid_Kd: 108.982
min_temp: 0
max_temp: 250

heater_pin: PA2
sensor_type: EPCOS 100K B57560G104F
sensor_pin: PC2
control: pid
pid_Kp: 54.027
pid_Ki: 0.770
pid_Kd: 948.182
min_temp: 0
max_temp: 130

serial: /dev/serial/by-id/usb-Klipper_stm32f103xe_XXXXXXXXXXXXXXXX
Replace XXXXXXXXXXXXXXXX with your actual USB serial number. You can find it with:
ls /dev/serial/by-id/2.4 Test Connection
In the Mainsail web interface, click “Connection” in the top left, then click “Connect”. If you see status information, the connection is successful.
If the connection fails, check:
-
Is the USB cable connected properly?
-
Is the serial port number correct?
-
Is the firmware flashed correctly?
Step 3: Calibration and Tuning
3.1 Stepper Motor Direction Check
Before starting to print, you must confirm the stepper motor directions are correct. In Mainsail, use the “Move” panel to test each axis movement direction.
If the direction is wrong, modify the configuration file, adding or removing ! before dir_pin:
dir_pin: !PB8 # Add ! to reverse direction3.2 Endstop Testing
In Mainsail, use the “Home” buttons to test each axis homing. If the endstop doesn’t trigger, check:
-
Is the endstop wiring correct?
-
Is the endstop pin configuration correct?
-
Is the endstop type correct (^ means pull-up)?
3.3 PID Tuning
Heater PID parameters directly affect temperature control precision. Use the following command for automatic tuning:
PID_CALIBRATE HEATER=extruder TARGET=200After tuning completes, save the parameters:
SAVE_CONFIG3.4 Input Shaping
Input Shaping can eliminate resonance, significantly improving print quality. First install the accelerometer:
sudo apt install python3-numpy python3-matplotlibThen run the automatic measurement:
SHAPER_CALIBRATEKlipper will automatically measure and recommend the best shaper type. Save the results:
SAVE_CONFIGStep 4: Start Printing
4.1 Slicing Settings
Klipper supports higher print speeds, so slicing settings can be adjusted accordingly:
-
Print speed: 80-150mm/s (Marlin usually 40-60mm/s)
-
Acceleration: 1000-3000mm/s²
-
Jerk: 5-20mm/s
4.2 Start Printing
In Mainsail, upload the Gcode file, then click “Start Print”. You can see real-time printing status, temperature curves, and other information in the web interface.
Common Problem Troubleshooting
Problem 1: Klipper cannot connect to the mainboard
-
Cause: Serial port configuration error or firmware issue
-
Solution: Check the serial path in the
serialconfiguration item, confirm firmware flashed correctly, try restarting the mainboard
Problem 2: Stepper motor doesn’t move or moves in the wrong direction
-
Cause: Pin configuration error or enable pin polarity issue
-
Solution: Check
step_pin,dir_pin,enable_pinconfigurations, confirm whether the enable pin needs!
Problem 3: Temperature cannot reach target value
-
Cause: PID parameter issues or heater hardware issues
-
Solution: Re-run PID calibration, check heater and thermistor wiring
Problem 4: Print quality is not good, there is resonance
-
Cause: Input Shaping not configured or printer mechanical issues
-
Solution: Run
SHAPER_CALIBRATEfor automatic tuning, check printer belts, pulleys and other mechanical parts
Problem 5: Raspberry Pi frequently crashes
-
Cause: Insufficient power supply or overheating
-
Solution: Use a 5V/2.5A or higher power adapter, add a heatsink or fan
Advanced Features
4.1 Macro Commands
Klipper supports custom macro commands to simplify common operations. For example, create an auto-leveling macro:
[gcode_macro G29]
gcode:
    BED_MESH_CALIBRATE
    G1 X0 Y0 Z10 F3000
4.2 Multi-Extruder Support
If your printer has multiple extruders, you can configure them in the configuration file:
[extruder1]
step_pin: PD7
dir_pin: PD6
...
4.3 Automatic Bed Leveling
Supports multiple bed leveling sensors, such as BLTouch, inductive sensors, etc.:
[bltouch]
sensor_pin: ^PC5
control_pin: PA8
x_offset: -40
y_offset: -10
Summary
Through this project, we:
-
Successfully migrated an old Ender 3 to the Klipper firmware
-
Achieved higher print speeds and better print quality
-
Learned Klipper installation, configuration, and calibration processes
-
Mastered common problem troubleshooting methods
Klipper’s advantages are obvious, but it also requires some learning and debugging. For users willing to invest time, Klipper can bring significant printing experience improvements.
Next, you can try:
-
Installing a camera for remote monitoring
-
Using Moonraker’s API for automation scripts
-
Trying more advanced features like pressure advance tuning
Hope this blog post is helpful to you!
Related resources: