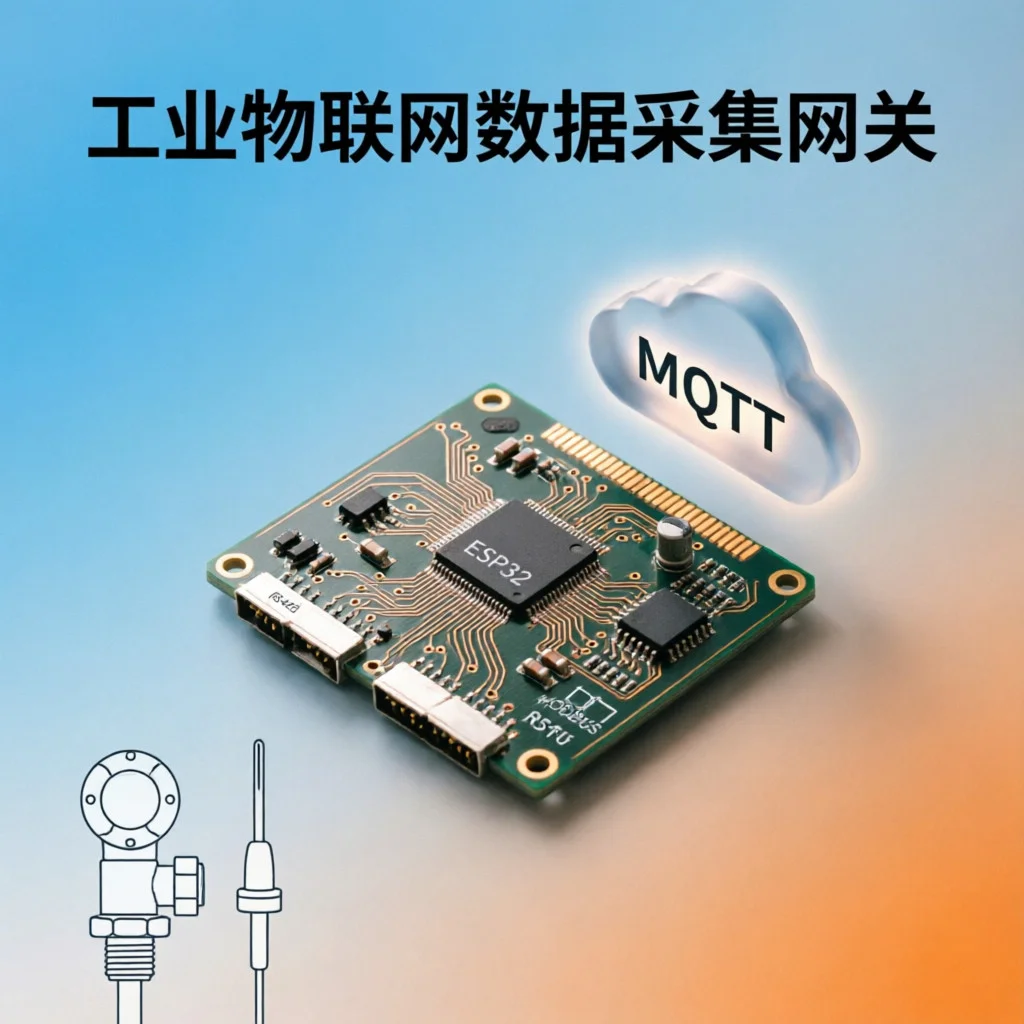
Embedded Development
 UART Serial Communication Complete Guide 2026: Baud Rate, Flow Control and Multi-Device Communication
This article is the third in the embedded communication protocol series. Previous: SPI Protocol Complete Guide, Earlier: I2C Bus Complete Guide
UART (Universal Asynchronous Receiver-Transmitter) is probably the “oldest but still in use” protocol in the embedded world.
It was born in the 1960s, earlier than SPI and I2C, but even today—you can still see it in ESP32 serial debug output, Arduino’s Serial.println(), and industrial equipment Modbus communication.
The reason is simple: UART doesn’t need a clock line, doesn’t need address assignment, requires the fewest wires, and is the easiest to debug.
But UART also has obvious shortcomings: slow speed, limited distance, can only do point-to-point communication (unlike I2C and SPI which can connect multiple devices). This article explains UART protocol details, level shifting, and industrial protocol practice in full, so you know when UART is the best choice and when to switch protocols.
UART Protocol Principles
What Does “Asynchronous” Mean?
The “A” in UART stands for Asynchronous. Unlike SPI/I2C’s “synchronous” communication, UART has no clock line. The sender and receiver each run independent clocks, and communication synchronization relies on both sides pre-agreed parameters:
| Parameter | Typical Value | Description |
|---|---|---|
| Baud Rate | 9600, 115200 | Symbols per second (bits per second) |
| Data Bits | 8 bits | Number of bits per frame of valid data |
| Stop Bits | 1 bit | Frame end marker |
| Parity Bit | None/Even/Odd | Parity check (optional) |
If both sides’ baud rates don’t match—for example, sender uses 115200, receiver uses 9600—what you receive is garbage. This is one of UART’s most common failures.
Data Frame Structure
UART transmits one “frame” at a time, structured as follows:
Idle(High) ┤
           ├─ Start bit(0) ┤ D0 ┤ D1 ┤ D2 ┤ D3 ┤ D4 ┤ D5 ┤ D6 ┤ D7 ┤ Parity(opt) ┤ Stop bit(1) ┤─ Idle(High)
└── 1 bit ───└────────── 8 data bits ──────────┘└─ 0/1 bit ─┘└── 1/2 bits ──┘- Start bit: Always low level, tells receiver “data is coming”
- Data bits: LSB first (Least Significant Bit first), usually 8 bits
- Parity bit: Optional, used to detect transmission errors
- Stop bit: Always high level, marks end of one frame
Baud Rate and Error Tolerance
The UART receiver samples at the middle position of each bit. If the baud rate deviation between both sides exceeds a certain range, the sampling point will drift to the wrong position.
Error formula:
Maximum allowed error ≈ 1 / (2 × data bits) × 100%Taking 8 data bits as example: maximum allowed error is about 6.25%. But in actual engineering, it’s recommended to keep it within 2%, otherwise packet loss is easy at high baud rates.
Common baud rates and corresponding bit times:
| Baud Rate | Bit Time | One Frame Time (8N1) | Theoretical Throughput |
|---|---|---|---|
| 9600 | 104.17 μs | 1.04 ms | ~960 bytes/s |
| 38400 | 26.04 μs | 260 μs | ~3.8 KB/s |
| 115200 | 8.68 μs | 86.8 μs | ~11.5 KB/s |
| 921600 | 1.09 μs | 10.9 μs | ~92 KB/s |
115200 is the most commonly used “high-speed” baud rate—fast enough, yet not too error-prone.
Hardware Flow Control vs Software Flow Control
UART transmission has no clock signal, so there’s no “pause” mechanism. When the receiver can’t keep up, data is lost. Flow Control exists to solve this problem.
RTS/CTS Hardware Flow Control
RTS (Request to Send) and CTS (Clear to Send) are two additional signal lines:
Sender ────TX────→ Receiver
Sender ←───RX──── Receiver
Sender ←───CTS─── Receiver   (Receiver tells sender "I'm ready")
Sender ────RTS───→ Receiver (Sender tells receiver "I'm about to send")- When receiver’s buffer is full, it pulls CTS low → sender pauses
- After buffer is cleared, pulls CTS high → sender continues
Advantages: Fast response, doesn’t occupy data bandwidth Disadvantages: Two more wires, increased wiring cost
XON/XOFF Software Flow Control
No extra pins needed, implemented by inserting special characters in the data stream:
- XON (0x11, Ctrl-Q): Tells the other side “can continue sending”
- XOFF (0x13, Ctrl-S): Tells the other side “pause sending”
Advantages: Only needs TX/RX two wires Disadvantages: Special characters may conflict with valid data, requires escape handling
ESP32 Flow Control Code Example
// Arduino/ESP-IDF style
HardwareSerial Serial1(1);  // Use UART1

void setup() {
  // 115200 baud, 8 data bits, no parity, 1 stop bit
  // Enable hardware flow control (RTS=GPIO18, CTS=GPIO19)
  Serial1.begin(115200, SERIAL_8N1,
                /* RX */ GPIO_RX,
                /* TX */ GPIO_TX,
                /* RTS */ GPIO18,
                /* CTS */ GPIO19);
}

void loop() {
  if (Serial1.available()) {
    String data = Serial1.readStringUntil('\n');
    Serial1.println("Received: " + data);
  }
}
ESP32’s three UART ports (UART0/1/2) all support hardware flow control, but by default only TX/RX are enabled. When flow control is needed, manually specify RTS/CTS pins.
ESP32 Multi-UART Port Usage
ESP32 chip has built-in 3 UART controllers, which is a major advantage over other MCUs:
| UART | Default Pins | Typical Use |
|---|---|---|
| UART0 | TX=GPIO1, RX=GPIO3 | USB serial debug (Serial) |
| UART1 | TX=GPIO17, RX=GPIO16 | Flash cache (system reserved, can be reused) |
| UART2 | TX=GPIO17, RX=GPIO16 | Free to use |
⚠️ Note: ESP32’s UART1 is by default occupied by SPI Flash cache, but can be released for normal serial port use through configuration. ESP32-S3/C3 pin assignments are slightly different.
Practice: Using Three UART Ports Simultaneously
// Scenario: UART0 debug output, UART1 for GPS module, UART2 for Modbus sensor

HardwareSerial gpsSerial(1);   // UART1 → GPS
HardwareSerial modbusSerial(2); // UART2 → Modbus sensor

void setup() {
  Serial.begin(115200);        // UART0: Debug output
  gpsSerial.begin(9600, SERIAL_8N1, 16, 17);    // GPS usually 9600
  modbusSerial.begin(9600, SERIAL_8N1, 22, 23); // Modbus sensor
}

void loop() {
  // Read GPS NMEA data
  if (gpsSerial.available()) {
    String nmea = gpsSerial.readStringUntil('\n');
    Serial.println("GPS: " + nmea);
  }

  // Read Modbus sensor data
  if (modbusSerial.available()) {
    // Modbus frame processing
  }
}
This is very practical in industrial scenarios—one ESP32 simultaneously connects to GPS, sensors, and debug terminal, each doing its own job.
RS232 / RS485 / RS422 Level Shifting
UART is a protocol-layer concept, while RS232/RS485/RS422 are physical layer electrical standards. MCU UART output is 3.3V/5V TTL level, but long-distance communication needs conversion to more interference-resistant electrical standards.
Three Level Comparisons
| Standard | Voltage Range | Transmission Mode | Max Distance | Nodes | Typical Scenario |
|---|---|---|---|---|---|
| TTL | 0-3.3V/5V | Single-ended | < 1m | 2 | Board-level communication, debug |
| RS232 | ±3V ~ ±15V | Single-ended | ~15m | 2 | PC serial port, old equipment |
| RS422 | ±1.5V ~ ±6V | Differential | ~1200m | 10 | Industrial control |
| RS485 | ±1.5V ~ ±6V | Differential, half-duplex | ~1200m | 32/128 | Industrial bus |
RS485 Half-Duplex Communication
RS485 is the most commonly used industrial serial standard:
- Differential signal: Uses voltage difference between A/B two wires to represent data, strong common-mode interference resistance
- Half-duplex: Can only send or receive at the same time (needs DE/RE pin to control direction)
- Multi-point bus: One bus can connect 32 (or even 128) nodes
Typical wiring:
ESP32 ──[MAX485]── A ───┬──[MAX485]── Node 1
                         ├──[MAX485]── Node 2
                         └──[MAX485]── Node 3
                    B ───┘
ESP32 RS485 Send Control Code:
// MAX485's DE (send enable) and RE (receive enable) connected to same GPIO
#define RS485_DE_RE 4

void setup() {
  pinMode(RS485_DE_RE, OUTPUT);
  digitalWrite(RS485_DE_RE, LOW);  // Default receive mode
  Serial2.begin(9600, SERIAL_8N1, 16, 17);
}

void rs485_send(const char* data) {
  digitalWrite(RS485_DE_RE, HIGH);  // Switch to send mode
  delay(1);                         // Wait for MAX485 to stabilize
  Serial2.print(data);
  Serial2.flush();                  // Wait for send to complete
  delay(1);                         // Ensure last bit is sent
  digitalWrite(RS485_DE_RE, LOW);   // Switch back to receive mode
}
⚠️ Critical detail: DE/RE switching must have delay. MAX485’s enable pin response time is about 50ns, but MCU GPIO switching and UART FIFO draining need extra buffer, generally 1ms is sufficient.
Modbus RTU Protocol Practice
Modbus RTU is an application layer protocol running on UART/RS485, widely used in industrial sensors, PLCs, and variable frequency drives.
Modbus Frame Structure
| Address(1B) | Function Code(1B) | Data(NB) | CRC(2B) || Field | Description |
|---|---|
| Address | Slave address (0=broadcast, 1-247=slave) |
| Function Code | 03=read holding registers, 06=write single register, 10=write multiple registers |
| Data | Register address, quantity, write values, etc. |
| CRC | 16-bit cyclic redundancy check (low byte first) |
Modbus RTU Reading Temperature Sensor
#include <HardwareSerial.h>

HardwareSerial modbus(2);

// Function code 03: Read holding registers
// Slave address 1, start register 0x0000, read 2 registers (temperature+humidity)
uint8_t readHoldingRegs[] = {
  0x01,       // Slave address
  0x03,       // Function code: read holding registers
  0x00, 0x00, // Start address 0x0000
  0x00, 0x02, // Read 2 registers
  // CRC calculated later
};

uint16_t calculateCRC(uint8_t* buf, uint8_t len) {
  uint16_t crc = 0xFFFF;
  for (uint8_t i = 0; i < len; i++) {
    crc ^= buf[i];
    for (uint8_t j = 0; j < 8; j++) {
      if (crc & 0x0001) {
        crc >>= 1;
        crc ^= 0xA001;
      } else {
        crc >>= 1;
      }
    }
  }
  return crc;
}

void sendModbusRequest() {
  digitalWrite(RS485_DE_RE, HIGH);
  delay(1);

  // Calculate CRC and append
  uint16_t crc = calculateCRC(readHoldingRegs, 6);
  modbus.write(readHoldingRegs, 6);
  modbus.write(crc & 0xFF);       // CRC low byte
  modbus.write((crc >> 8) & 0xFF); // CRC high byte
  modbus.flush();

  delay(1);
  digitalWrite(RS485_DE_RE, LOW);

  // Read response (wait for slave reply)
  delay(50);
  if (modbus.available() >= 7) {  // Address(1) + Function(1) + Byte count(1) + Data(4)
    uint8_t response[9];
    modbus.readBytes(response, 9);

    // Parse temperature value (assuming temperature in register 0, 16 bit)
    uint16_t temperature = (response[3] << 8) | response[4];
    float tempC = temperature / 10.0;  // Assuming 0.1°C precision
    Serial.printf("Temperature: %.1f°C\n", tempC);
  }
}
💡 Practical advice: In actual projects, it’s recommended to use mature Modbus libraries (like
ModbusMasterorArduinoModbus), rather than hand-writing frame construction and CRC calculation. The code above is mainly for understanding the protocol’s underlying logic.
Troubleshooting: Common UART Issues
1. Garbage Characters
Symptoms: Receiving strange characters like ÿÿÿ or random symbols.
Possible causes and troubleshooting:
| Cause | Troubleshooting Method | Solution |
|---|---|---|
| Baud rate mismatch | Confirm both ends have same baud rate | Change to same value, error < 2% |
| Ground not connected | Use multimeter to test GND continuity | Ensure common ground |
| TX/RX reversed | Check wiring | Cross connect (TX→RX, RX→TX) |
| Level mismatch | Measure signal voltage | Add level shifter chip (e.g., TXB0108) |
2. Data Loss
Symptoms: Send 10 bytes, only receive 8 bytes.
Troubleshooting:
- Check if flow control is enabled (RTS/CTS or XON/XOFF)
- Check if receiver buffer is overflowing
- Lower baud rate to test
- Confirm no interrupt delay affecting UART ISR
3. Limited Communication Distance
Symptoms: TTL level starts having errors beyond 1 meter.
Solutions:
- Short distance (< 1m): TTL direct connection is fine
- Medium distance (1-15m): RS232 (MAX232 chip)
- Long distance (15-1200m): RS485 (MAX485 chip)
4. RS485 Bus Conflict
Symptoms: Multiple nodes sending simultaneously, data is chaotic.
Solutions:
- Use master-slave architecture: Only one master responsible for initiating requests
- Set send timeout: Master retries after slave reply timeout
- Add 120Ω termination resistors at both ends of bus (eliminate signal reflection)
UART vs SPI vs I2C Quick Comparison
| Feature | UART | SPI | I2C |
|---|---|---|---|
| Wires | 2 (TX/RX) + optional flow control | 4 (MOSI/MISO/SCLK/CS) | 2 (SDA/SCL) |
| Speed | Up to ~4 Mbps | Up to ~80 MHz | Up to 3.4 MHz (Hs) |
| Topology | Point-to-point | One master, multiple slaves | Multi-master, multi-slave |
| Address | None (point-to-point) | Chip select line selection | 7/10 bit address |
| Full duplex | ✅ | ✅ | ❌ |
| Suitable scenarios | Debug, long-distance communication, industrial bus | High-speed peripherals (screens, Flash) | Low-speed sensors |
| Debug convenience | ⭐⭐⭐⭐⭐ | ⭐⭐⭐ | ⭐⭐ |
Simple selection:
- Need debug output or connect sensor to read text data → UART
- Need high-speed data transfer (screens, SD cards) → SPI
- Need connect multiple low-speed sensors while saving pins → I2C
Summary
UART may be the most “simple” protocol in the embedded world—no clock line, no addresses, no complex arbitration mechanisms. But it’s precisely this simplicity that makes it irreplaceable in debugging, industrial communication, and device interfacing scenarios.
Remember a few key points:
- Baud rate must match, error controlled within 2%
- TTL level is only suitable for board-level short-distance communication, use RS485 for long distances
- RS485 half-duplex requires manual DE/RE pin direction control
- Modbus RTU is the most mature industrial protocol on UART
- ESP32 has 3 UART ports, can connect multiple devices simultaneously
This article is the third in the embedded communication protocol series. If you’re interested in sensor connections and industrial fieldbus, this series is worth following.