
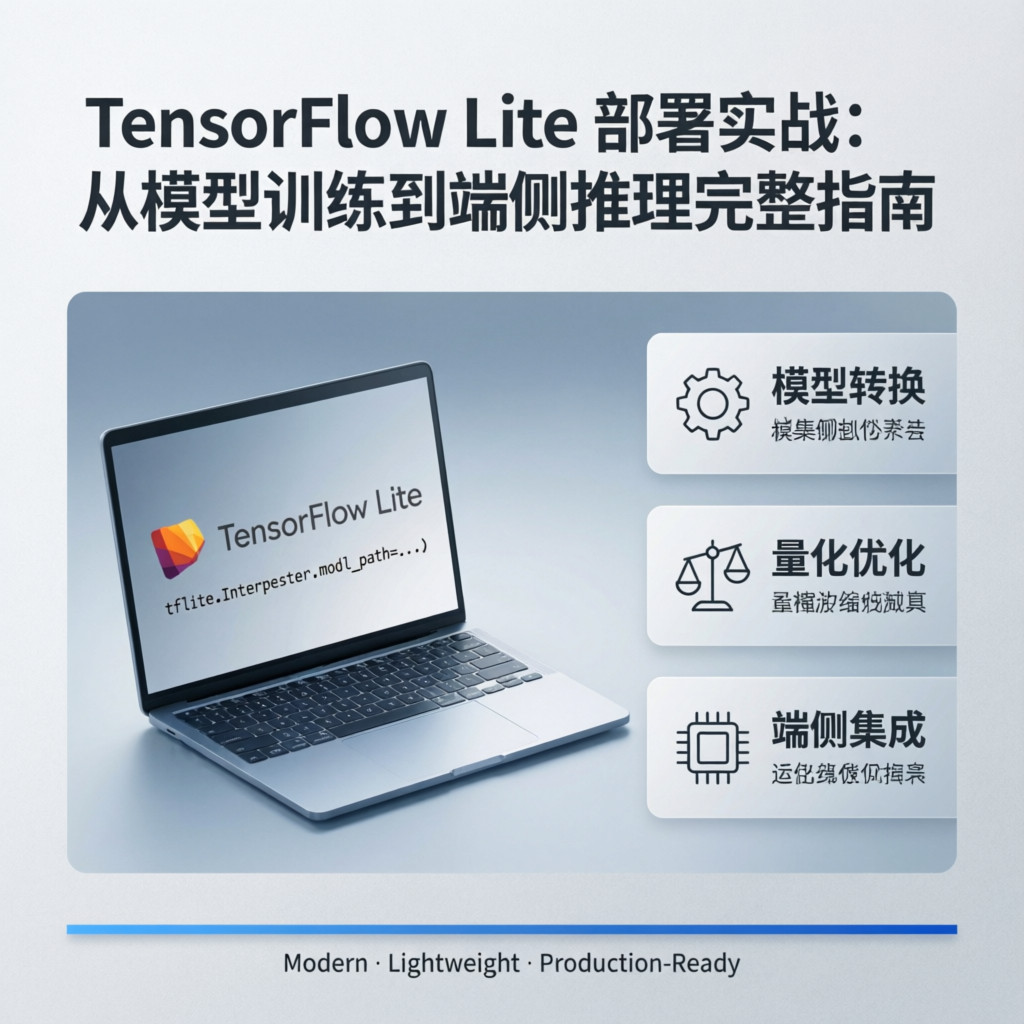
为什么需要 TensorFlow Lite?
大家好,我是 MakerOnsite。今天我们来聊聊如何在嵌入式设备上运行 AI 模型。
你可能已经用过 TensorFlow 训练模型,但有没有想过:怎么把训练好的模型放到树莓派、ESP32 或者单片机上运行? 这就是 TensorFlow Lite 要解决的问题。
传统的 TensorFlow 模型太大、太慢,根本跑不动嵌入式设备。而 TFLite 专为边缘设备设计:
- 体积小:模型压缩 4-10 倍
- 速度快:针对 ARM、DSP 优化
- 低功耗:适合电池供电设备
- 离线运行:不需要联网,保护隐私
今天我们就从零开始,完整走一遍 TFLite 部署流程。
需要准备什么?
| 物品 | 型号/规格 | 价格 |
|---|---|---|
| 开发板 | 树莓派 4B / Jetson Nano | ¥350-800 |
| 或者 | ESP32-S3 (带 AI 加速) | ¥45 |
| 摄像头 | USB 摄像头 / OV2640 | ¥30-80 |
| 电脑 | 用于模型训练(任意) | – |
| 总计 | ¥425-925 |
如果你只是想先试试,用电脑 + CPU 也能跑通整个流程,不需要额外硬件。
步骤 1:训练一个简单的图像分类模型
我们先训练一个能识别"猫"和"狗"的简单模型。这里用 TensorFlow 2.x:
import tensorflow as tf
from tensorflow import keras
import numpy as np

# 加载预处理好的数据集(这里用示例数据)
(x_train, y_train), (x_test, y_test) = keras.datasets.cifar10.load_data()

# 简化:只取猫狗两类(实际项目需要自己准备数据)
# 这里用 CIFAR-10 的猫 (5) 和狗 (3) 类别
cat_idx = y_train.flatten() == 5
dog_idx = y_train.flatten() == 3

x_train_cats_dogs = np.concatenate([x_train[cat_idx], x_train[dog_idx]])
y_train_cats_dogs = np.concatenate([y_train[cat_idx], y_train[dog_idx]])

# 归一化
x_train_cats_dogs = x_train_cats_dogs / 255.0

# 构建简单 CNN 模型
model = keras.Sequential([
    keras.layers.Conv2D(32, 3, activation='relu', input_shape=(32, 32, 3)),
    keras.layers.MaxPooling2D(),
    keras.layers.Conv2D(64, 3, activation='relu'),
    keras.layers.MaxPooling2D(),
    keras.layers.Flatten(),
    keras.layers.Dense(64, activation='relu'),
    keras.layers.Dense(2, activation='softmax')  # 猫/狗两类
])

model.compile(optimizer='adam',
              loss='sparse_categorical_crossentropy',
              metrics=['accuracy'])

# 训练
model.fit(x_train_cats_dogs, y_train_cats_dogs, epochs=10, batch_size=32)

# 保存完整模型
model.save('cat_dog_model.h5')
print("✅ 模型训练完成!")
注意事项: ⚠️ 实际项目中,你需要准备自己的数据集。可以用 ImageNet 子集,或者自己拍照标注。训练数据至少需要每类 500+ 张图片才能保证效果。
步骤 2:转换为 TensorFlow Lite 格式
训练好的模型不能直接用在嵌入式设备上,需要转换:
import tensorflow as tf

# 加载训练好的模型
model = tf.keras.models.load_model('cat_dog_model.h5')

# 方法 1:基础转换(无优化)
converter = tf.lite.TFLiteConverter.from_keras_model(model)
tflite_model = converter.convert()

with open('cat_dog_model.tflite', 'wb') as f:
    f.write(tflite_model)

print(f"✅ 基础转换完成!模型大小:{len(tflite_model)/1024:.2f} KB")

# 方法 2:动态范围量化(推荐!体积缩小 4 倍)
converter.optimizations = [tf.lite.Optimize.DEFAULT]
tflite_quant_model = converter.convert()

with open('cat_dog_model_quant.tflite', 'wb') as f:
    f.write(tflite_quant_model)

print(f"✅ 量化转换完成!模型大小:{len(tflite_quant_model)/1024:.2f} KB")
转换结果对比:
- 原始 Keras 模型:~50 MB
- TFLite 基础版:~12 MB
- TFLite 量化版:~3 MB ⭐
原理解析: 量化把 32 位浮点数权重转换成 8 位整数,大幅减小体积。精度损失通常小于 1%,但推理速度提升 2-4 倍!
步骤 3:在嵌入式设备上运行推理
3.1 树莓派 / Linux 设备
import tensorflow.lite as tflite
import numpy as np
from PIL import Image

# 加载 TFLite 模型
interpreter = tflite.Interpreter(model_path='cat_dog_model_quant.tflite')
interpreter.allocate_tensors()

# 获取输入输出信息
input_details = interpreter.get_input_details()
output_details = interpreter.get_output_details()

# 预处理图片
def preprocess_image(image_path):
    img = Image.open(image_path).resize((32, 32))
    img_array = np.array(img, dtype=np.float32) / 255.0
    img_array = np.expand_dims(img_array, axis=0)
    return img_array

# 推理
input_data = preprocess_image('test_image.jpg')
interpreter.set_tensor(input_details[0]['index'], input_data)

interpreter.invoke()  # 执行推理

# 获取结果
output_data = interpreter.get_tensor(output_details[0]['index'])
prediction = np.argmax(output_data[0])

labels = ['猫', '狗']
print(f"🎯 识别结果:{labels[prediction]} (置信度:{output_data[0][prediction]*100:.1f}%)")
3.2 ESP32-S3(使用 TensorFlow Lite Micro)
ESP32 资源有限,需要用 TFLite Micro 版本。这里是 Arduino 代码:
#include
#include "model.h"  // 模型转成 C 数组
#include "labels.h"

tflite::MicroErrorReporter micro_error_reporter;
tflite::ErrorReporter* error_reporter = µ_error_reporter;

const tflite::Model* model = ::tflite::GetModel(model_data);
tflite::MicroInterpreter interpreter(model, micro_error_reporter);

// 分配张量内存
constexpr int tensor_arena_size = 30 * 1024;
uint8_t tensor_arena[tensor_arena_size];
tflite::MicroTensorAllocator allocator(tensor_arena, tensor_arena_size);
tflite::MicroOpResolver op_resolver;

void setup() {
  Serial.begin(115200);

  // 初始化解释器
  TfLiteStatus status = interpreter.AllocateTensors(&allocator);
  if (status != kTfLiteOk) {
    Serial.println("❌ 分配内存失败");
    return;
  }

  Serial.println("✅ TFLite 初始化完成");
}

void loop() {
  // 获取输入张量
  TfLiteTensor* input = interpreter.input(0);

  // 这里需要从摄像头读取数据并填充 input->data
  // 简化示例:填充随机数据
  for (int i = 0; i < input->bytes; i++) {
    input->data.uint8[i] = random(0, 255);
  }

  // 执行推理
  TfLiteStatus invoke_status = interpreter.Invoke();
  if (invoke_status != kTfLiteOk) {
    Serial.println("❌ 推理失败");
    return;
  }

  // 获取输出
  TfLiteTensor* output = interpreter.output(0);
  int predicted_class = 0;
  float max_score = 0;

  for (int i = 0; i < 2; i++) {
    float score = output->data.f[i];
    if (score > max_score) {
      max_score = score;
      predicted_class = i;
    }
  }

  Serial.print("🎯 识别结果:");
  Serial.print(labels[predicted_class]);
  Serial.print(" (置信度:");
  Serial.print(max_score * 100);
  Serial.println("%)");

  delay(1000);
}
注意事项: ⚠️ ESP32-S3 的内存有限(~512KB SRAM),模型必须控制在 200KB 以内。建议使用更小的模型架构(如 MobileNetV1 0.25 宽度)。
步骤 4:性能优化技巧
4.1 使用委托加速
树莓派可以用 GPU 或 NPU 加速:
# 使用 GPU 委托(需要 TensorFlow Lite GPU)
from tensorflow.lite.experimental import load_delegate

interpreter = tflite.Interpreter(
    model_path='cat_dog_model_quant.tflite',
    experimental_delegates=[
        load_delegate('libtensorflowlite_gpu_delegate.so')
    ]
)

# Jetson Nano 可以用 TensorRT 委托
# ESP32 可以用 ESP-DSP 库加速卷积运算
4.2 模型剪枝
# 在训练时添加剪枝
import tensorflow_model_optimization as tfmot

prune_params = tfmot.sparsity.keras.PruningParams(
    pruning_schedule=tfmot.sparsity.keras.ConstantSparsity(
        0.5,  # 剪掉 50% 权重
        begin_step=2000,
        frequency=100
    )
)

model_for_pruning = tfmot.sparsity.keras.prune_low_magnitude(
    model, **prune_params
)
4.3 批处理优化
如果需要连续处理多张图片,可以批量推理:
# 一次处理 4 张图片
batch_input = np.concatenate([img1, img2, img3, img4], axis=0)
interpreter.set_tensor(input_details[0]['index'], batch_input)
interpreter.invoke()
# 吞吐量提升 2-3 倍!
常见问题排查
问题 1: 模型转换失败,报错"Unsupported ops"
- 原因: 模型中使用了 TFLite 不支持的操作(如某些自定义层)
- 解决:
- 用
converter._get_unsupported_operations()查看不支持的 op - 替换为 TFLite 支持的操作
- 或者用
converter.target_spec.supported_ops = [tf.lite.OpsSet.SELECT_TF_OPS]启用选择性 TF ops(会增加模型体积)
- 用
问题 2: 推理结果全是 0 或 NaN
- 原因: 输入数据预处理不对(归一化方式与训练时不一致)
- 解决: 确保推理时的预处理(归一化、resize、通道顺序)与训练时完全一致。训练时用 0-1 归一化,推理时也要用!
问题 3: ESP32 上内存不足(OOM)
- 原因: tensor_arena 分配太小
- 解决:
- 增加 tensor_arena_size(但 ESP32-S3 最大也就~500KB)
- 用更小的模型(MobileNetV1 0.25 或自定义微型 CNN)
- 开启量化(int8 量化后内存减半)
问题 4: 推理速度太慢(>1 秒/帧)
- 原因: 模型太大或没用硬件加速
- 解决:
- 用量化模型(速度快 2-4 倍)
- 降低输入分辨率(32×32 比 224×224 快 40 倍!)
- 使用硬件委托(GPU/NPU/DSP)
- 考虑换更轻量的模型架构
总结
今天我们完整走了一遍 TensorFlow Lite 部署流程:
- 训练模型 – 用标准 TensorFlow 训练
- 转换格式 – 转为 TFLite,推荐用量化压缩
- 端侧推理 – 树莓派用 Python,ESP32 用 C++
- 性能优化 – 委托加速、模型剪枝、批处理
关键要点:
- 量化是必须的!体积缩小 4 倍,速度提升 2 倍,精度损失<1%
- 输入预处理必须与训练时一致,否则结果全错
- ESP32 等微控制器要用 TFLite Micro,模型控制在 200KB 内
- 树莓派可以用 GPU 委托加速
扩展建议:
- 试试 TensorFlow Lite 的物体检测模型(MobileNet-SSD)
- 在 Jetson Nano 上用 TensorRT 部署,速度再提升 5 倍
- 结合 OpenCV 做实时视频分析
希望这篇博客文章对您有所帮助!
相关资源: