OpenCV Python 创建你的滤镜(高斯滤波, GaussianKernel)
本示例使用的OpenCV版本是:OpenCV 4.1.1 运行Python的编辑器:Jupyter notebook 6.0.0
实现目的
本示例,让你学会如何创建你的滤波器,一款增强图片锐度的滤波器(滤镜),并且应用在图像上。
实现代码
1,加载需要的库和显示图片
import cv2
import numpy as np
import matplotlib.pyplot as plt
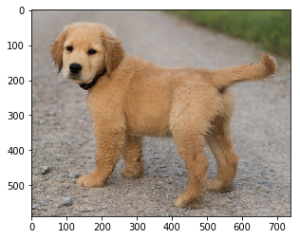
img = cv2.imread('dog.png')
img = cv2.cvtColor(img, cv2.COLOR_BGR2RGB)
plt.imshow(img)又看到它了,可爱的小狗狗
2,创建一个11x11的锐化内核
KSIZE = 11
ALPHA = 2

# 使用 `cv.getGaussianKernel`函数可以创建自己定义的高斯内核
kernel = cv2.getGaussianKernel(KSIZE, 0)
kernel = -ALPHA * kernel @ kernel.T
kernel += 1 + ALPHA
3,使用刚创建的滤波器应用在图片上
# `cv.filter2D` 是把滤波器应用到图片的函数
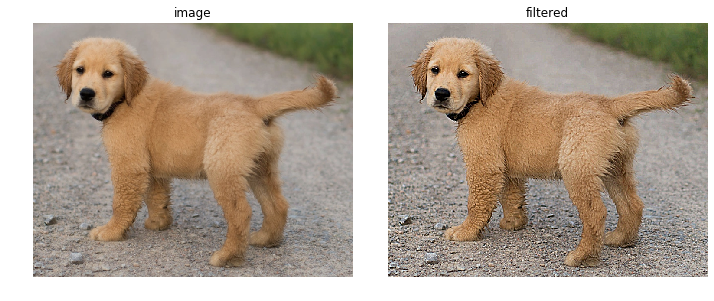
filtered = cv2.filter2D(img, -1, kernel)4,显示原图和加了滤镜后的图像
plt.figure(figsize=(10,10))
plt.subplot(121)
plt.axis('off')
plt.title('image')
plt.imshow(img[:, :, [0, 1, 2]])
plt.subplot(122)
plt.axis('off')
plt.title('filtered')
plt.imshow(filtered[:, :, [0, 1, 2]])
plt.tight_layout(True)
plt.show()
程序说明
cv.getGaussianKernel具体使用请参考:
https://docs.opencv.org/4.1.1/d4/d86/group__imgproc__filter.html#gac05a120c1ae92a6060dd0db190a61afa
cv.filter2D具体使用请参考:
https://docs.opencv.org/4.1.1/d4/d86/group__imgproc__filter.html#ga27c049795ce870216ddfb366086b5a04