 IoT
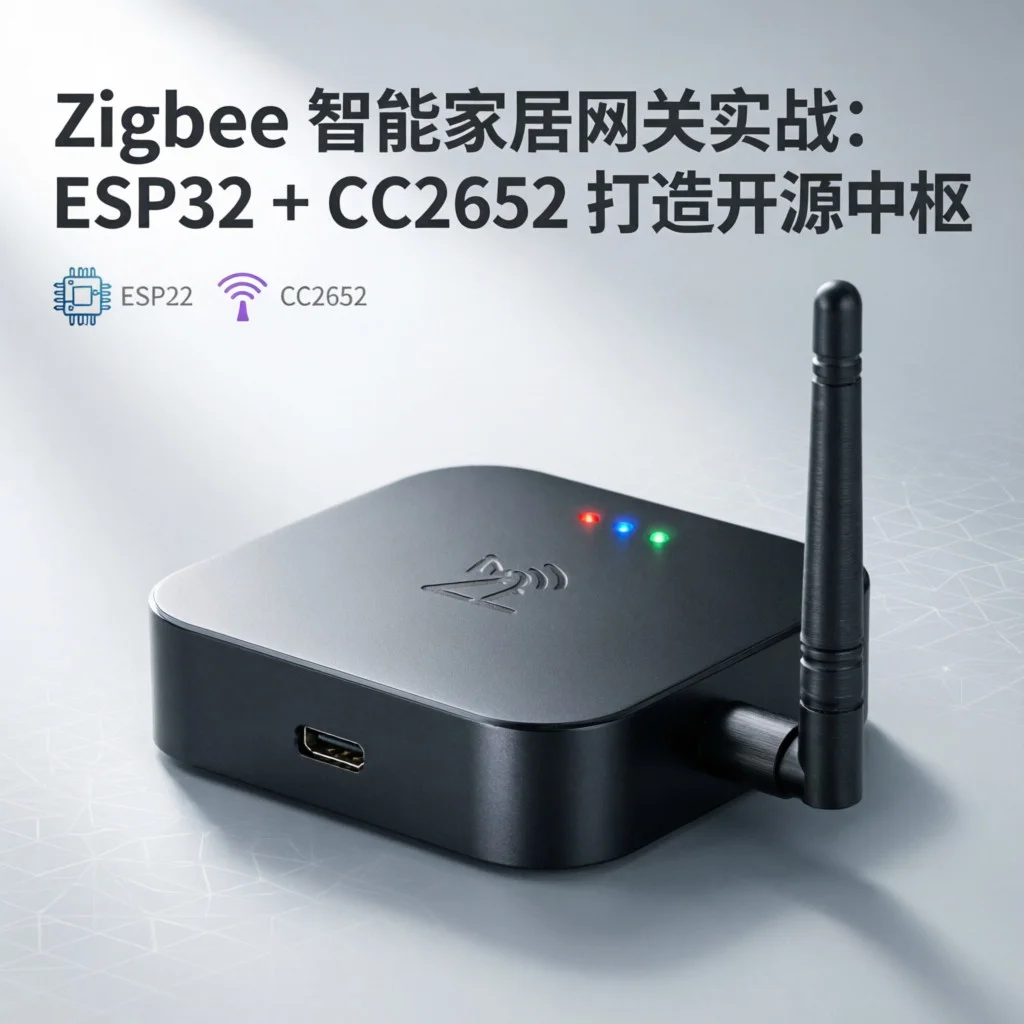
IoT 2026 Zigbee Gateway DIY: ESP32+CC2652 Open Source Solution (Cost <¥100)
Why Do You Need a Zigbee Gateway?
Smart home devices are becoming more and more common, but many rely on cloud services. Once the internet goes down, the switches and sensors at home become useless. The advantages of the Zigbee protocol are local networking, low power consumption, and self-healing. Combined with an open-source gateway, you can achieve fully localized smart control.
Zigbee gateways on the market are either expensive (Aqara gateway ¥200+) or have limited functionality. Today we’ll build our own with ESP32 + CC2652, costing less than ¥50, with deep customization capabilities.
What Do You Need?
| Item | Model/Spec | Price |
|---|---|---|
| Development Board | ESP32-WROOM-32 | ¥25 |
| Zigbee Module | CC2652P (USB version) | ¥35 |
| Antenna | 2.4GHz PCB antenna | ¥5 |
| Enclosure | 3D printed/plastic box | ¥10 |
| USB Cable | Micro-USB data cable | ¥5 |
| Total | ¥80 |
Optional Accessories:
-
Temperature/humidity sensor (Aqara) ¥50
-
Motion sensor (Aqara) ¥60
-
Smart switch (Tuya Zigbee) ¥40
💡 Why choose CC2652P? Compared to the older CC2531, CC2652P supports Zigbee 3.0, has stronger signal, includes PA amplifier, and 3x better coverage.
Step 1: Hardware Connection
The CC2652P USB version is already an independent module, plug and play when connected to a computer. But to make a standalone gateway, we need ESP32 to communicate with CC2652 via UART.
Wiring Diagram
ESP32          CC2652P
GPIO16 (TX)  →  RX (GPIO3)
GPIO17 (RX)  →  TX (GPIO2)
3.3V         →  VCC
GND          →  GND
Notes: ⚠️
-
CC2652 operates at 3.3V, do not connect to 5V
-
If ESP32 power supply is insufficient, recommend external 5V/2A power supply
-
Antenna must be tightened, otherwise signal attenuation will be severe
Firmware Flashing
CC2652P needs to be flashed with Zigbee firmware. We use the zigbee2xye Coordinator firmware.
# Download firmware
wget https://github.com/Koenkk/Z-Stack-firmware/raw/master/coordinator/Z-Stack_3.x.0/bin/CC1352P2_CC2652P_launchpad_coordinator_20240710.zip

# Extract
unzip CC1352P2_CC2652P_launchpad_coordinator_20240710.zip

# Flash using cc2538-bsl tool (requires Python)
pip install pyserial intelhex

python cc2538-bsl.py -evw -p /dev/ttyUSB0 \
  CC1352P2_CC2652P_launchpad_coordinator_20240710.hex
After successful flashing, the LED will blink indicating the Zigbee network has started.
Step 2: ESP32 Firmware Development
ESP32 is responsible for running the gateway logic, communicating with CC2652 via UART, and connecting to Home Assistant via WiFi.
Development Environment
# Install ESP-IDF (ESP32 official development framework)
git clone --recursive https://github.com/espressif/esp-idf.git
cd esp-idf
./install.sh esp32
. ./export.sh

# Create project
idf.py create-project zigbee-gateway
cd zigbee-gateway
Core Code
// main.c - Zigbee gateway main program
#include <stdio.h>
#include "freertos/FreeRTOS.h"
#include "freertos/task.h"
#include "driver/uart.h"
#include "esp_wifi.h"
#include "esp_mqtt_client.h"

#define TX_PIN 16
#define RX_PIN 17
#define UART_BUF_SIZE 1024

// Zigbee data frame processing
static void zigbee_rx_task(void *arg)
{
    uint8_t buf[UART_BUF_SIZE];

    while (1) {
        int len = uart_read_bytes(UART_NUM_1, buf, UART_BUF_SIZE, 100);
        if (len > 0) {
            // Parse Zigbee frame (ZNP protocol)
            parse_znp_frame(buf, len);

            // Send to Home Assistant via MQTT
            mqtt_publish("zigbee2mqtt/device", buf, len);
        }
    }
}

// MQTT callback - receive Home Assistant commands
static void mqtt_callback(void *handler, esp_event_base_t base,
                          int32_t event_id, void *event_data)
{
    esp_mqtt_event_handle_t event = event_data;

    if (event->event_id == MQTT_EVENT_DATA) {
        // Forward commands to Zigbee devices
        uart_write_bytes(UART_NUM_1, event->data, event->data_len);
    }
}

void app_main(void)
{
    // Initialize UART
    uart_config_t uart_config = {
        .baud_rate = 115200,
        .data_bits = UART_DATA_8_BITS,
        .parity = UART_PARITY_DISABLE,
        .stop_bits = UART_STOP_BITS_1,
        .flow_ctrl = UART_HW_FLOWCTRL_DISABLE,
    };
    uart_param_config(UART_NUM_1, &uart_config);
    uart_set_pin(UART_NUM_1, TX_PIN, RX_PIN, UART_PIN_NO_CHANGE, UART_PIN_NO_CHANGE);
    uart_driver_install(UART_NUM_1, UART_BUF_SIZE, 0, 0, NULL, 0);

    // Create Zigbee receive task
    xTaskCreate(zigbee_rx_task, "zigbee_rx", 4096, NULL, 5, NULL);

    // Connect WiFi and MQTT
    connect_wifi();
    connect_mqtt();
}
How it works: ESP32 acts as a “translator”, communicating with CC2652 via UART (ZNP protocol) on one end, and with Home Assistant via MQTT on the other end. All Zigbee device data is converted to MQTT messages, achieving protocol conversion.
Step 3: Home Assistant Integration
Install Zigbee2MQTT
# Add plugin in Home Assistant
# Go to: Settings → Add-ons → Add-on Store → Search "Zigbee2MQTT"

# Or manually install with Docker
docker run -d \
  --name zigbee2mqtt \
  --restart=unless-stopped \
  -v /opt/zigbee2mqtt/data:/app/data \
  -v /opt/zigbee2mqtt/log:/app/log \
  -v /dev/ttyUSB0:/dev/ttyUSB0 \
  --device=/dev/ttyUSB0 \
  koenkk/zigbee2mqtt
Configuration File
# configuration.yaml
mqtt:
  broker: 192.168.1.100
  port: 1883
  username: homeassistant
  password: your_password

# Auto-discover Zigbee devices
homeassistant:
  discovery_prefix: homeassistant
Device Pairing
-
Long press the pairing button on the Zigbee device (usually 5+ seconds), device enters pairing mode
-
Click “Allow new devices to join” in the Zigbee2MQTT interface in Home Assistant
-
Wait for the device to appear in the Zigbee2MQTT device list, complete automatic recognition and binding
Test and Verify
After successful pairing, you can see in Home Assistant:
Sensors: temperature/humidity, motion, door/window status
Switches: smart plugs, light control
Dimming: LED strips, color temperature adjustment
Performance:
-
Response latency < 200ms (local network)
-
Local control still works when internet is down
-
Supports 50+ devices online simultaneously
Common Problem Troubleshooting
Problem 1: CC2652 not recognized
-
Cause: Insufficient USB power or driver issue
-
Solution: Use USB Hub with external power supply, install CH340 driver
Problem 2: Zigbee device pairing fails
-
Cause: Too far away or interference
-
Solution: Pair close to the gateway, avoid WiFi routers (2.4GHz interference)
Problem 3: MQTT connection disconnects
-
Cause: Broker address error or authentication failure
-
Solution: Check MQTT server configuration, confirm username and password
Problem 4: ESP32 frequently restarts
-
Cause: Watchdog timeout or insufficient memory
-
Solution: Increase
CONFIG_ESP32_DEFAULT_CPU_FREQ_240, optimize code memory usage
Advanced Extensions
Add Web Management Interface
#include <ESPAsyncWebServer.h>

AsyncWebServer server(80);

server.on("/", HTTP_GET, [](AsyncWebServerRequest *request){
    request->send_P(200, "text/html", index_html);
});

server.begin();
Access ESP32’s IP address to manage devices.
Support Matter Protocol
In the future, you can upgrade firmware to support Matter, achieving cross-platform compatibility (Apple HomeKit, Google Home, Alexa).
Summary
Building your own Zigbee gateway not only saves money, more importantly it gives you complete control over data privacy. All device data is processed locally, no need to upload to the cloud. Combined with Home Assistant, you can achieve highly customized smart scenarios.
Next steps you can try:
-
Add voice control (offline speech recognition)
-
Integrate with Xiao Ai/Tmall Genie
-
Build Zigbee signal repeaters to extend coverage
Hope this blog article is helpful to you!
Related resources: